If you try doing the out of the box install for SQL Express 2014, SQL Express 2012 (or for that matter SQL Server 2012 or SQL Server 2014) and just want to set up a simple development PC then you will probably get the same error I did:
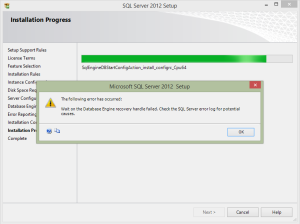
… “Wait on the Database Engine recovery handle failed. Check the SQL Server error log for potential causes.”
(for the impatient, skip down a page or two for the fix)
SQL Express 2012, SQL Express 2012 SP1, SQL Enterprise 2012, SQL Express 2014 or SQL Enterprise 2014 will all generate this same message:
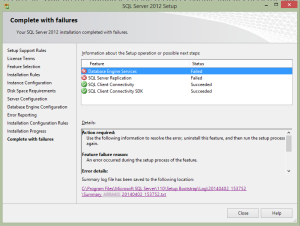
Once you click OK, installation proceeds to the end and shows (in my case) what actually did not install correctly, along with links to the error log:
the error logs aren’t a lot of help, typically you get something like this:
Configuration file: C:\Program Files\Microsoft SQL Server\110\Setup Bootstrap\Log\20140402_153752\ConfigurationFile.ini
Detailed results:
  Feature:                       Database Engine Services
  Status:                        Failed: see logs for details
  Reason for failure:            An error occurred during the setup process of the feature.
  Next Step:                     Use the following information to resolve the error, uninstall this feature, and then run the setup process again.
  Component name:                SQL Server Database Engine Services Instance Features
  Component error code:          0x851A0019
  Error description:             Wait on the Database Engine recovery handle failed. Check the SQL Server error log for potential causes.
  Error help link:               http://go.microsoft.com/fwlink?LinkId=20476&ProdName=Microsoft+SQL+Server&EvtSrc=setup.rll&EvtID=50000&ProdVer=11.0.2100.60&EvtType=0xD15B4EB2%400x4BDAF9BA%401306%4025&EvtType=0xD15B4EB2%400x4BDAF9BA%401306%4025
  Feature:                       SQL Server Replication
  Status:                        Failed: see logs for details
  Reason for failure:            An error occurred for a dependency of the feature causing the setup process for the feature to fail.
  Next Step:                     Use the following information to resolve the error, uninstall this feature, and then run the setup process again.
  Component name:                SQL Server Database Engine Services Instance Features
  Component error code:          0x851A0019
  Error description:             Wait on the Database Engine recovery handle failed. Check the SQL Server error log for potential causes.
  Error help link:               http://go.microsoft.com/fwlink?LinkId=20476&ProdName=Microsoft+SQL+Server&EvtSrc=setup.rll&EvtID=50000&ProdVer=11.0.2100.60&EvtType=0xD15B4EB2%400x4BDAF9BA%401306%4025&EvtType=0xD15B4EB2%400x4BDAF9BA%401306%4025
  Feature:                       SQL Client Connectivity
  Status:                        Passed
  Feature:                       SQL Client Connectivity SDK
  Status:                        Passed
Rules with failures:
attempt at repair didn’t entirely work, though at least a few more features appeared ok afterwards, seems the features that failed weren’t really installed to begin with.
Configuration file: C:\Program Files\Microsoft SQL Server\110\Setup Bootstrap\Log\20140402_164618\ConfigurationFile.ini
Detailed results:
  Feature:                       Database Engine Services
  Status:                        Failed: see logs for details
  Reason for failure:            An error occurred during the setup process of the feature.
  Next Step:                     Use the following information to resolve the error, and then try the setup process again.
  Component name:                SQL Server Database Engine Services Instance Features
  Component error code:          0x84B40002
  Error description:             The SQL Server feature 'SQL_Engine_Core_Inst' is not in a supported state for repair, as it was never successfully configured. Only features from successful installations can be repaired. To continue, remove the specified SQL Server feature.
  Error help link:               http://go.microsoft.com/fwlink?LinkId=20476&ProdName=Microsoft+SQL+Server&EvtSrc=setup.rll&EvtID=50000&ProdVer=11.0.2100.60&EvtType=0x2841E06E%401204%402&EvtType=0x2841E06E%401204%402
  Feature:                       SQL Server Replication
  Status:                        Failed: see logs for details
  Reason for failure:            An error occurred for a dependency of the feature causing the setup process for the feature to fail.
  Next Step:                     Use the following information to resolve the error, and then try the setup process again.
  Component name:                SQL Server Database Engine Services Instance Features
  Component error code:          0x84B40002
  Error description:             The SQL Server feature 'SQL_Engine_Core_Inst' is not in a supported state for repair, as it was never successfully configured. Only features from successful installations can be repaired. To continue, remove the specified SQL Server feature.
  Error help link:               http://go.microsoft.com/fwlink?LinkId=20476&ProdName=Microsoft+SQL+Server&EvtSrc=setup.rll&EvtID=50000&ProdVer=11.0.2100.60&EvtType=0x2841E06E%401204%402&EvtType=0x2841E06E%401204%402
  Feature:                       SQL Browser
  Status:                        Passed
  Feature:                       SQL Writer
  Status:                        Passed
  Feature:                       SQL Client Connectivity
  Status:                        Passed
  Feature:                       SQL Client Connectivity SDK
  Status:                        Passed
  Feature:                       Setup Support Files
  Status:                        Passed
Rules with failures:
Some people suggesting changing security on %userprofile%\AppData\Microsoft\Roaming\Microsoft\Protect\ folder, but the user accounts are generated during install, so the logical thing (well it worked for me) was to simply re-use LOCAL SERVICE and NETWORK SERVICE accounts instead.
Caveat: this is a development machine, not production, I’m a developer not a DBA – this is convenient and expedient for me.
THE FIX
Short version: the fix for SQL 2012 or SQL 2014 installs is the same, just manually set the security for “SQL Server Agent” and “SQL Server Database Engine” to “NETWORK SERVICE”,
and for “SQL Server Analysis Services”, “SQL Server Reporting Services”, and if used for “SQL Server Distributed Replay Client” and “SQL Server Distributed Replay Controller” all to “LOCAL SERVICE”
and for “SQL Server Analysis Services”, “SQL Server Reporting Services”, and if used for “SQL Server Distributed Replay Client” and “SQL Server Distributed Replay Controller” all to “LOCAL SERVICE”
Long version, below:
Here’s the complete install procedure end to end for the demo of SQL Server 2012 Enterprise, however the procedure is much the same for 2014 or SQL Express as well.
Launch the installation by running setup.exe, click on “Installation”
Once you click on Installation, click on “New SQL Server stand-alone installation or add features to an existing installation”
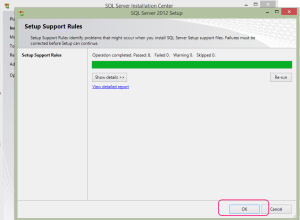
After the checks are completed, click OK
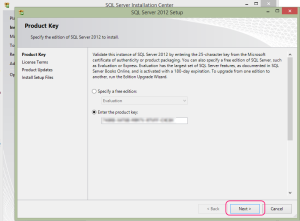
choose your version, click Next
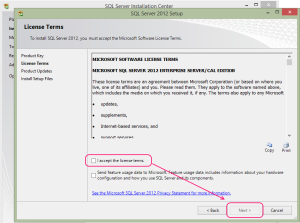
Click at least “I accept the license terms” (once you do), and optionally click “Send feature usage..” then click Next
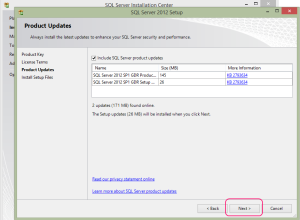
Doesn’t hurt to leave the checkbox on, allow installer to add the updates now. BTW This will vary depending on your install of SQL 2012 or 2014. Click Next.
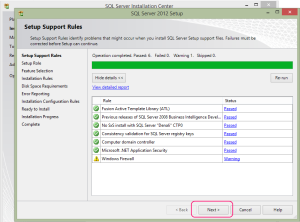
If all is well, you should see something similar to this. If there are issues, correct them, as advised, and come back here.
(For me Firewall was not a problem as this was a standalone dev. machine and not for other’s consumption.) Click Next
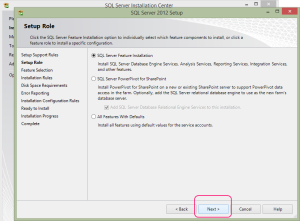
Leave the choice here on “SQL Server Feature Installation” to allow you to change the settings. Click Next
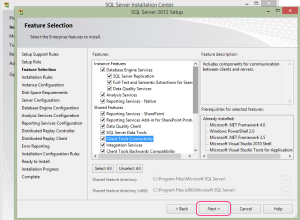
Choose your options. Note that you may see different features in SQL 2012 vs SQL 2014. Click Next when your options have been selected.
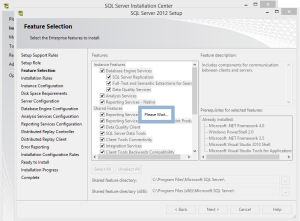
not too long to wait …
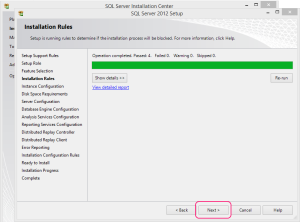
After further checks, click Next
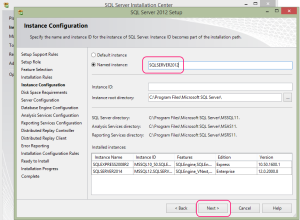
Create a unique name. If you have just one SQL instance you could call it say SQLSERVER or SQLEXPRESS. IMO good to plan ahead, as you might find it useful to install a different version of SQL server to allow you to do development of server to server / ETL queries etc. Click NEXT when completed.
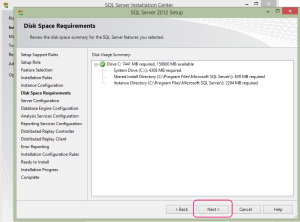
another intermediate check, this time for space, just click Next.
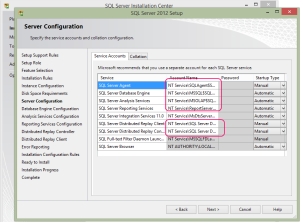
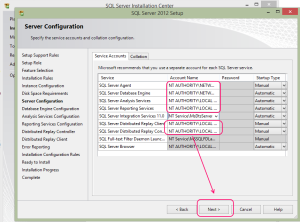
This is where you need to change from the default user accounts (most of which do not exist yet).
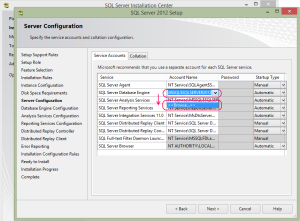
Choose one of the account names, scroll down and select “<<Browse…>>”
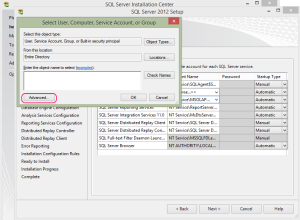
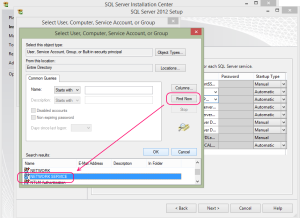
When you click browse, the account selection window pops up, click Advanced.
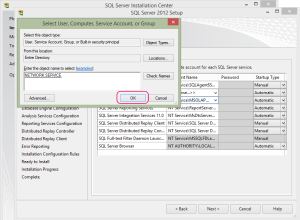
Click Find Now, then choose NETWORK SERVICE (or LOCAL SERVICE) depending on the service you are configuring. Click OK
You will be returned to the original popup, check the account selected, then click OK
Repeat until you change these accounts to either NETWORK SERVICE or LOCAL SERVICE, as shown, then click Next.
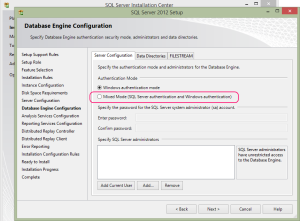
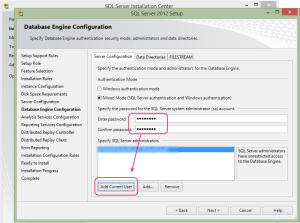
I usually select Mixed Mode, as it (a) gives me a back door in case something goes wrong, and (b) to be able to develop apps using name/password as opposed to using window authentication.
If using Mixed Mode, enter a password (twice)
Either way, make sure you click “Add Current User”, and you will find your local user account is added as a SQL Server Administrator.
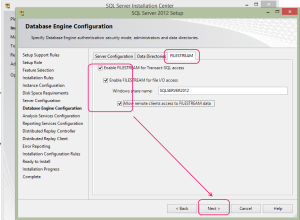
If you want to experiment with Filestream development, make sure you select the “FILESTREAM” tab, and select these options.
Make sure while there you add a sharename, as shown. This can be set to correspond with your SQL instance name.
Once completed, click Next
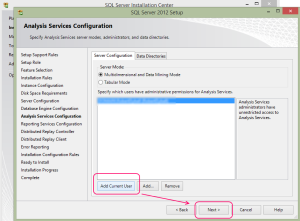
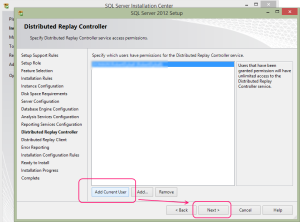
Click “Add Current User”, then click Next
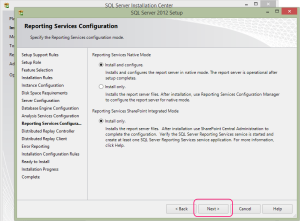
Click Next
Click “Add Current User”, then click Next
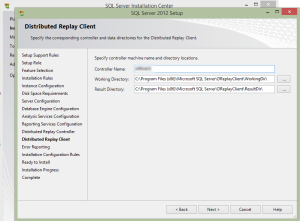
Add your local machine name, then click Next.
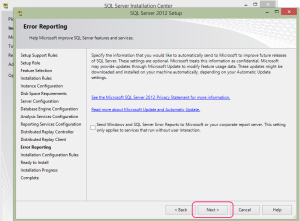
Optional checkbox, click Next
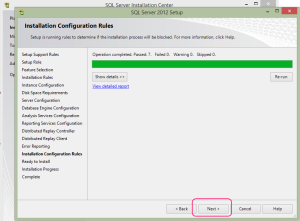
Another pre-install check, wait a bit, click Next
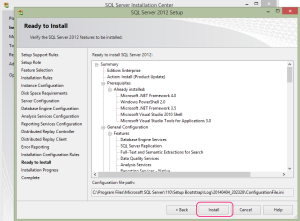
A summary of what will be installed, click Next
Time for coffee .. waiting ..
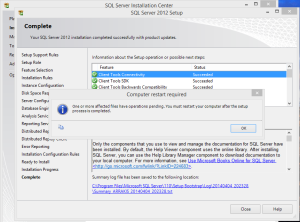
The end of install, almost .. if you are lucky you might need to reboot (don’t worry though, the reboot is not forced).
Click OK
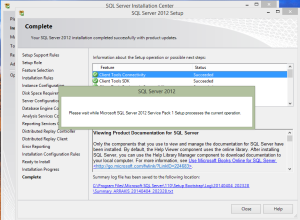
there’s a brief message, just wait.
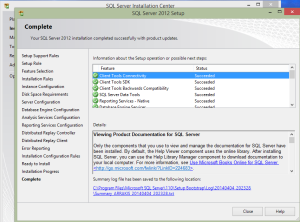
Finally you can click Close.
You are not forced to reboot, but now is the time (if you were prompted that you needed to), to reboot.


No hay comentarios:
Publicar un comentario